Previously
In the previous article I talked about Infrastructure as Code using Bicep and applied it to deploy my simple static html website in Azure Static Web Apps.
Infrastructure as Code deployment with Bicep
Intro & Goal
In this article I will continue where I left off and discuss how to automate the deployment of my simple static html website using Bicep and Azure DevOps Pipelines.
Deploying your infrastructure in a pipeline is a more robust and practical solution than deploying it manually using a CLI. Azure DevOps Pipelines is one of the great tools to handle this. My preference is Azure DevOps beacuase I have been using it for a long time and of course it's a Microsoft product and it integrates seamlessly with Azure.
Prerequisites
Since this article is a continuation of the previous article, you need to make sure that you have completed all the previously described steps.
Bicep Modules
In the previous article I created a Bicep file to deploy the infrastructure. In this article, the main.bicep file has not changed. The main.parameters.json on the other hand now just contains another placeholder for the repositoryToken. This value doesn't need to be copied anymore like we previously did. It will be passed down from the pipeline. Both files can now be found: here.
Building the pipeline
Azure DevOps Pipelines are defined in a YAML file. Create a new folder pipelines in the existing .azuredevops folder. In the pipelines folder, create a new file called deploy-infrastructure.yml and add the following content: deploy-infrastructure.yml. I hosted the files on my Github account so you can easily download them and follow along.
This file contains the code to deploy the Bicep file to Azure using the Azure CLI. I'm not going to dig deeper into the details of how yaml itself works, there's a lot of documentation available on the Microsoft Learn website.
The main thing to notice is that the pipeline is using the az cli command to deploy the Bicep file. I had already used this command in the previous article to deploy the Bicep file from my local machine.
But there's still a couple of important things that haven't been sorted out yet. I will discuss these more in detail.
Azure DevOps Documentation
Check Azure DevOps CLI in Azure Pipeline YAML for more details on using the Azure CLI in Azure DevOps Yaml pipelinesService Connection
The pipeline needs to authenticate with Azure to be able to deploy the infrastructure. This is handled by a Service Connection in Azure DevOps and provides a secure way to connect to Azure resources.
In the article Hosting a simple website in Azure Static Web Apps we saw that manually creating a Static Web App in Azure Portal, connected with Azure DevOps using the user's credentials and created a PAT to handle the deployment. But now, we're doing it the other way around. We're creating the infrastructure in Azure using Azure DevOps Pipelines. And for that we need a Service Connection in Azure DevOps to authenticate in Azure.
Creating a Service Connection in Azure DevOps can be handled in different ways. I'm going to keep it simple for this use case and do the following:
- In Azure DevOps, navigate to the project where your code resides and click Project settings at the bottom left in the main menu bar.
- In the Project Settings menu, navigate to Service Connections in the Pipelines section.
- Here you get a list of existing service connections. Click New Service Connection at the top right of the screen.
- Choose a service or connection type: select Azure Resource Manager and click Next.
-
Authentication method: select Service Principal (automatic). Click Next.
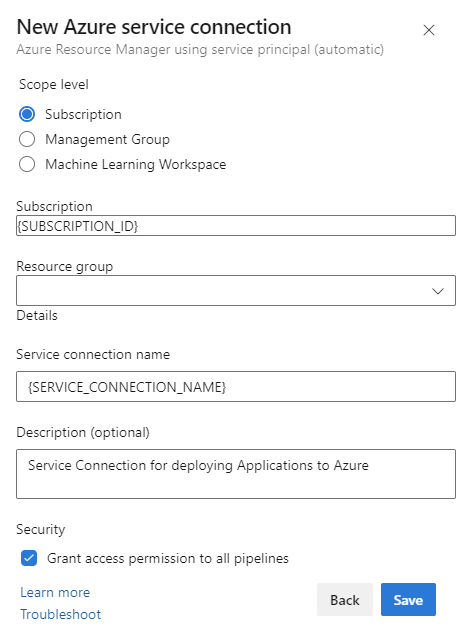
- Scope level: Subscription.
- Subscription: select your subscription.
- Service connection name: fill in an easily identifyable name. I always use a pattern sc-{NAME}.
- Security: check the Grant access to all pipelines checkbox to make sure the service connection can be used in all your pipelines.
- Click Save.
Keep in mind that when you create a Service Connection using the automatic Service Principal, that Azure DevOps will create a Service Principal in Azure for you. This Service Principal will have the Contributor role on the subscription level. To have more control over what happens here, you can create the Service Principal manually in Azure and use the Service Principal (manual) option in the Service Connection creation process. Of course, this can all be automated as well, but for now, I'll keep it simple and create the Service Principal automatically.
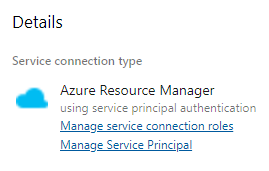
When the service connection is created, you can check the details and navigate to Azure to manage the Service Principal that has been assigned to it.
So when we go back to our yaml pipeline file, you'll see that it has an input parameter azureSubscription in the CLI task which is used to authenticate with Azure using the Service Connection. Fill in the name of the Service Connection you just created.
Azure DevOps Documentation
Check Manage service connections for more details about managing Service Connections in Azure DevOpsWhat about the Personal Access Token?
In the previous article I created a Personal Access Token (PAT) to authenticate with Azure DevOps. I hardcoded the PAT in the main.parameter.json file temporarily to be able to deploy the Static Web App from my local machine. This obviously isn't the way to go. So what's the solution then? Or at least A solution. Well, Im going to store it in a Library Variable Group in Azure DevOps. That way, we can securily retrieve it in the pipeline and pass it in as a parameter.
There are of course other ways to store this PAT, like in an Azure Key Vault for example. But I'm not going to create another Azure Resource and keep it simple for now.
Create a Library Variable Group
The following steps were taken:
- In Azure DevOps, navigate to Pipelines in the left menu of the project and click Library.
- Click + New Variable group.
- Variable group name: fill in a decent name for the variable group so that its intent is easily identifiable. I'm using Static-Web-App-TheridionIT-Infrastructure-Deployment.
- Variable group description: optionally fill in a description in case you want to have some more context. I always tend to describe where the variable is coming from, for example: PAT: Static-Web-App-TheridionIT-Infrastructure-Deployment-Token
- In the Variables section, click + Add.
- Name: fill in a name for the token. I'm using Personal_Access_Token.
- Value: copy-paste the previously created PAT value.
- Make sure you set the variable as a secret by clicking the lock icon. This way, the value is masked and can't just be copied and misused.
- Click Save.
Again, if we go back to our yaml pipeline file, you'll see that it contains a variables section with a group parameter that has the value Static-Web-App-TheridionIT-Infrastructure-Deployment, which is the Library Variable Group we just created.
The token itself is used as a variable in the pipeline and is retrieved from the Library Variable Group in the inline.
The name of the variable here is $(Personal_Access_Token).
Automating DevOps tasks
Creating the PAT and the Library Variable Group are DevOps tasks that could be automated as well. But that's a story for another time.
Creating and executing the pipeline
So now we have a Service Connection and a Library Variable Group in place, we can create the pipeline in Azure DevOps.
The following steps were taken:
- In DevOps, navigate to Pipelines in your project.
- Create a new pipeline by clicking New Pipeline in the top right corner of the screen.
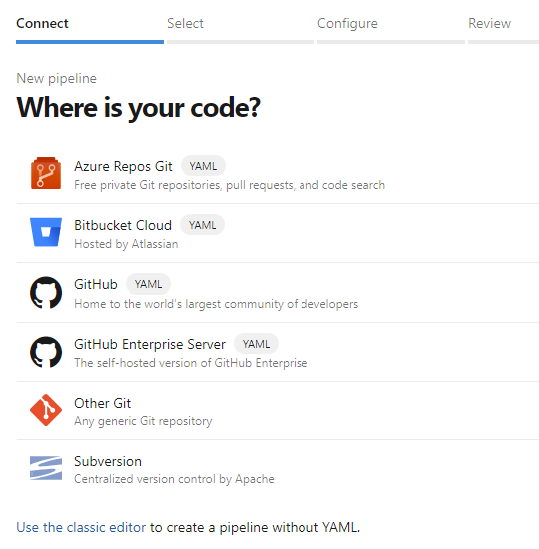
-
Select Azure Repos Git (YAML).
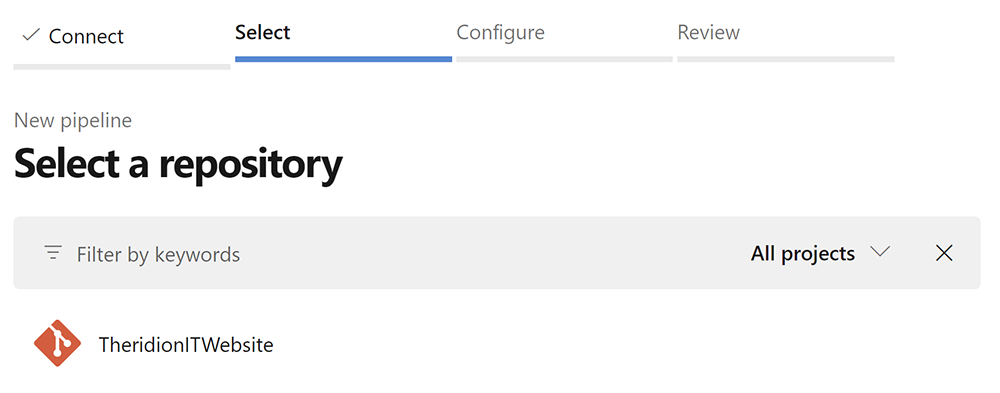
-
Select the repository you wish to use to go to the next step.
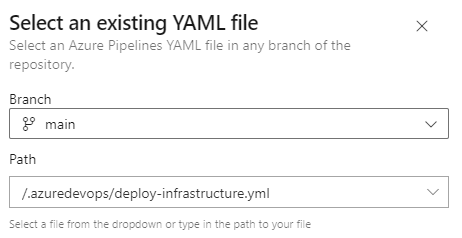
-
In the Configure your pipeline step, select Existing Azure Pipelines YAML file and select the deploy-infrastructure.yml file from the .azuredevops/pipelines folder.
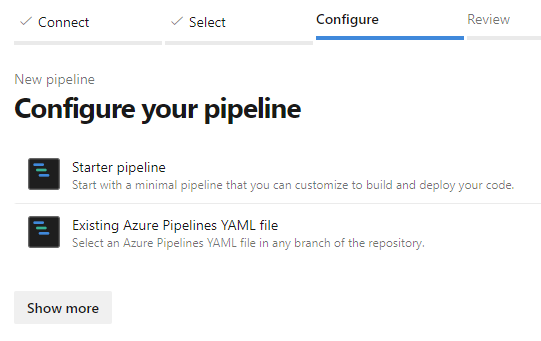
Click Continue to go to the next step.
-
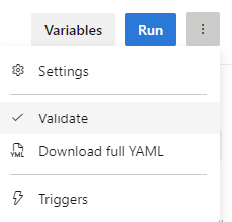
You can review your pipeline and Save it.
The pipeline is now ready to be used to deploy the infrastructure.
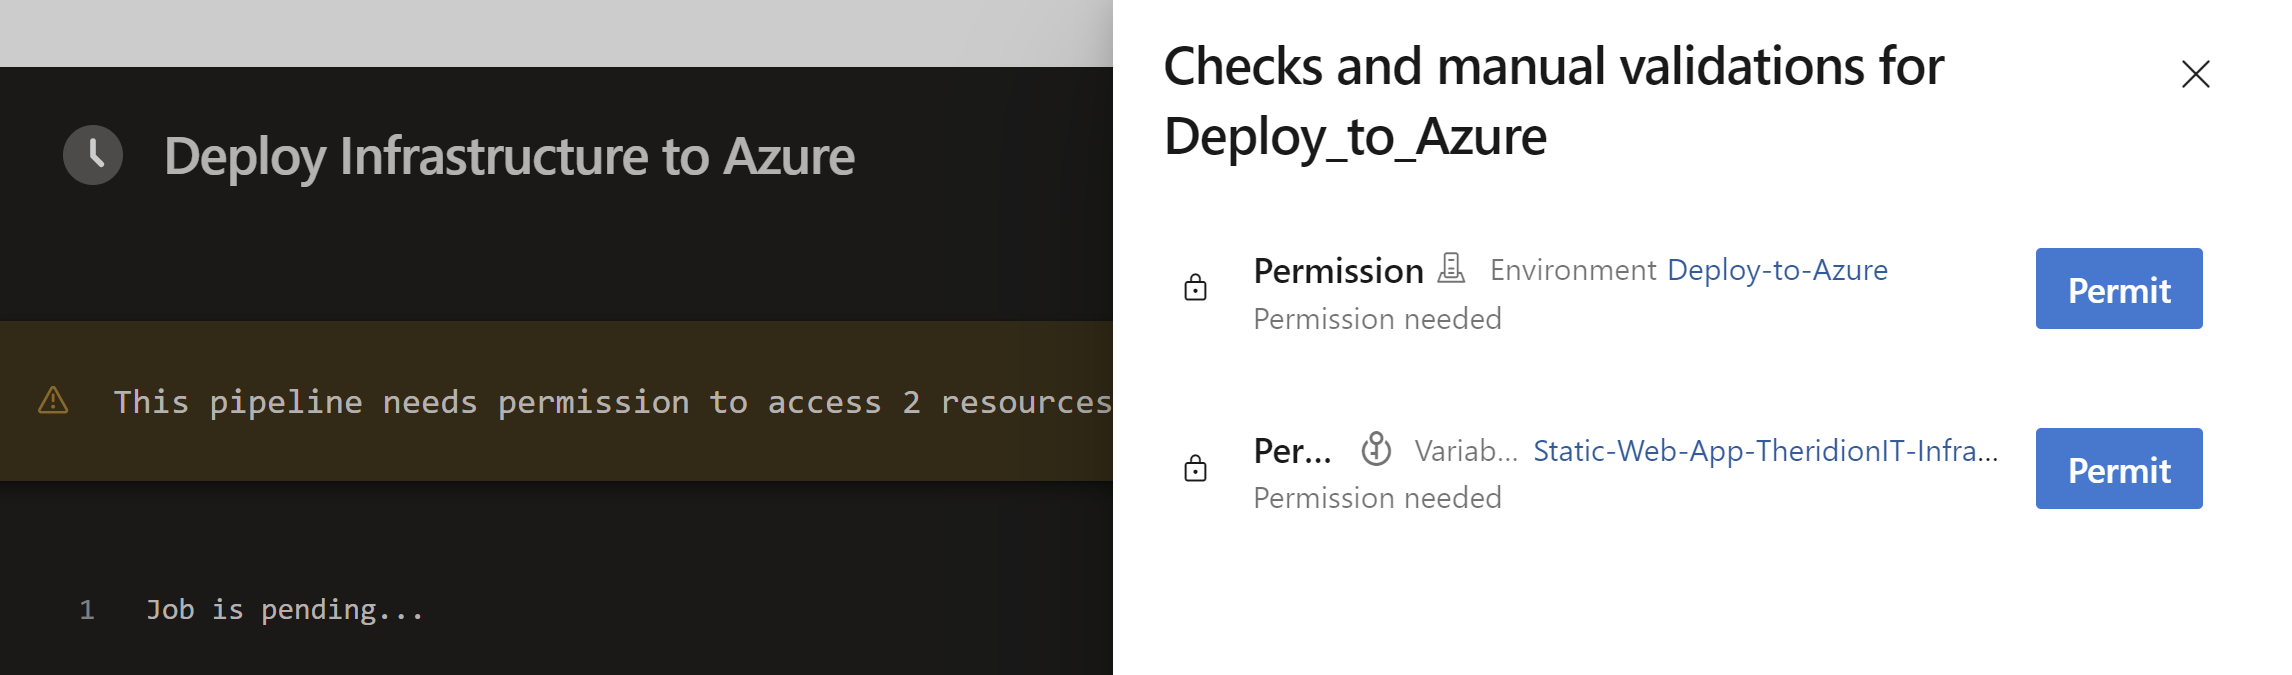
When you execute the pipeline, be sure to check if you need to grant access permissions to resources used in the pipeline, like the Environment, Service Connection or Variable Groups.
Azure DevOps Yaml Documentation
Check Define Pipelines using YAML syntax for more details on how to create Pipelines using YAMLAzure DevOps Yaml CLI Documentation
Check AzureCLI@2 - Azure CLI v2 task for more details on how to create CLI Tasks using YAMLConclusion
Deploying your applications using Infrastructure as Code by means of Pipelines is a more rebust and practical solution to automate your infrastructure. Although it requires a little bit of work to set everything up, it's definitely worth the time you will save in the long run.
The only downside I see here is a bit of a learning curve to get the hang of yaml. But Microsoft has a lot of documentation available to help you out.
Now, when I look at the solution I had for my simple static web site in the article Hosting a simple website in Azure Static Web Apps, we're still quite not there yet. What's missing is the Custom Domain configuration. That is an additional Bicep extension that I will cover in a future article.
Documentation Reference
- Azure DevOps Documentation - Azure DevOps Documentation
- Azure DevOps Pipelines Documentation - Key concepts for new Azure Pipelines users
- Azure DevOps Pipelines Documentation - Deployment jobs
- Azure DevOps Pipelines Documentation - Deploy to Azure
- Azure DevOps Pipelines Yaml Documentation - Define Pipelines using YAML syntax
- Azure DevOps Pipelines Yaml CLI Documentation - Azure DevOps CLI in Azure Pipeline YAML
- Azure DevOps Pipelines Yaml CLI Documentation - Azure DevOps CLI Task in Azure Pipeline YAML
Training Material
- Microsoft Learn - Learn Live: Use Bicep to deploy your Azure infrastructure as code
- Pluralsight - AZ-400: Designing and Implementing Microsoft DevOps Solutions